Treat the Openings as Part of the Facade
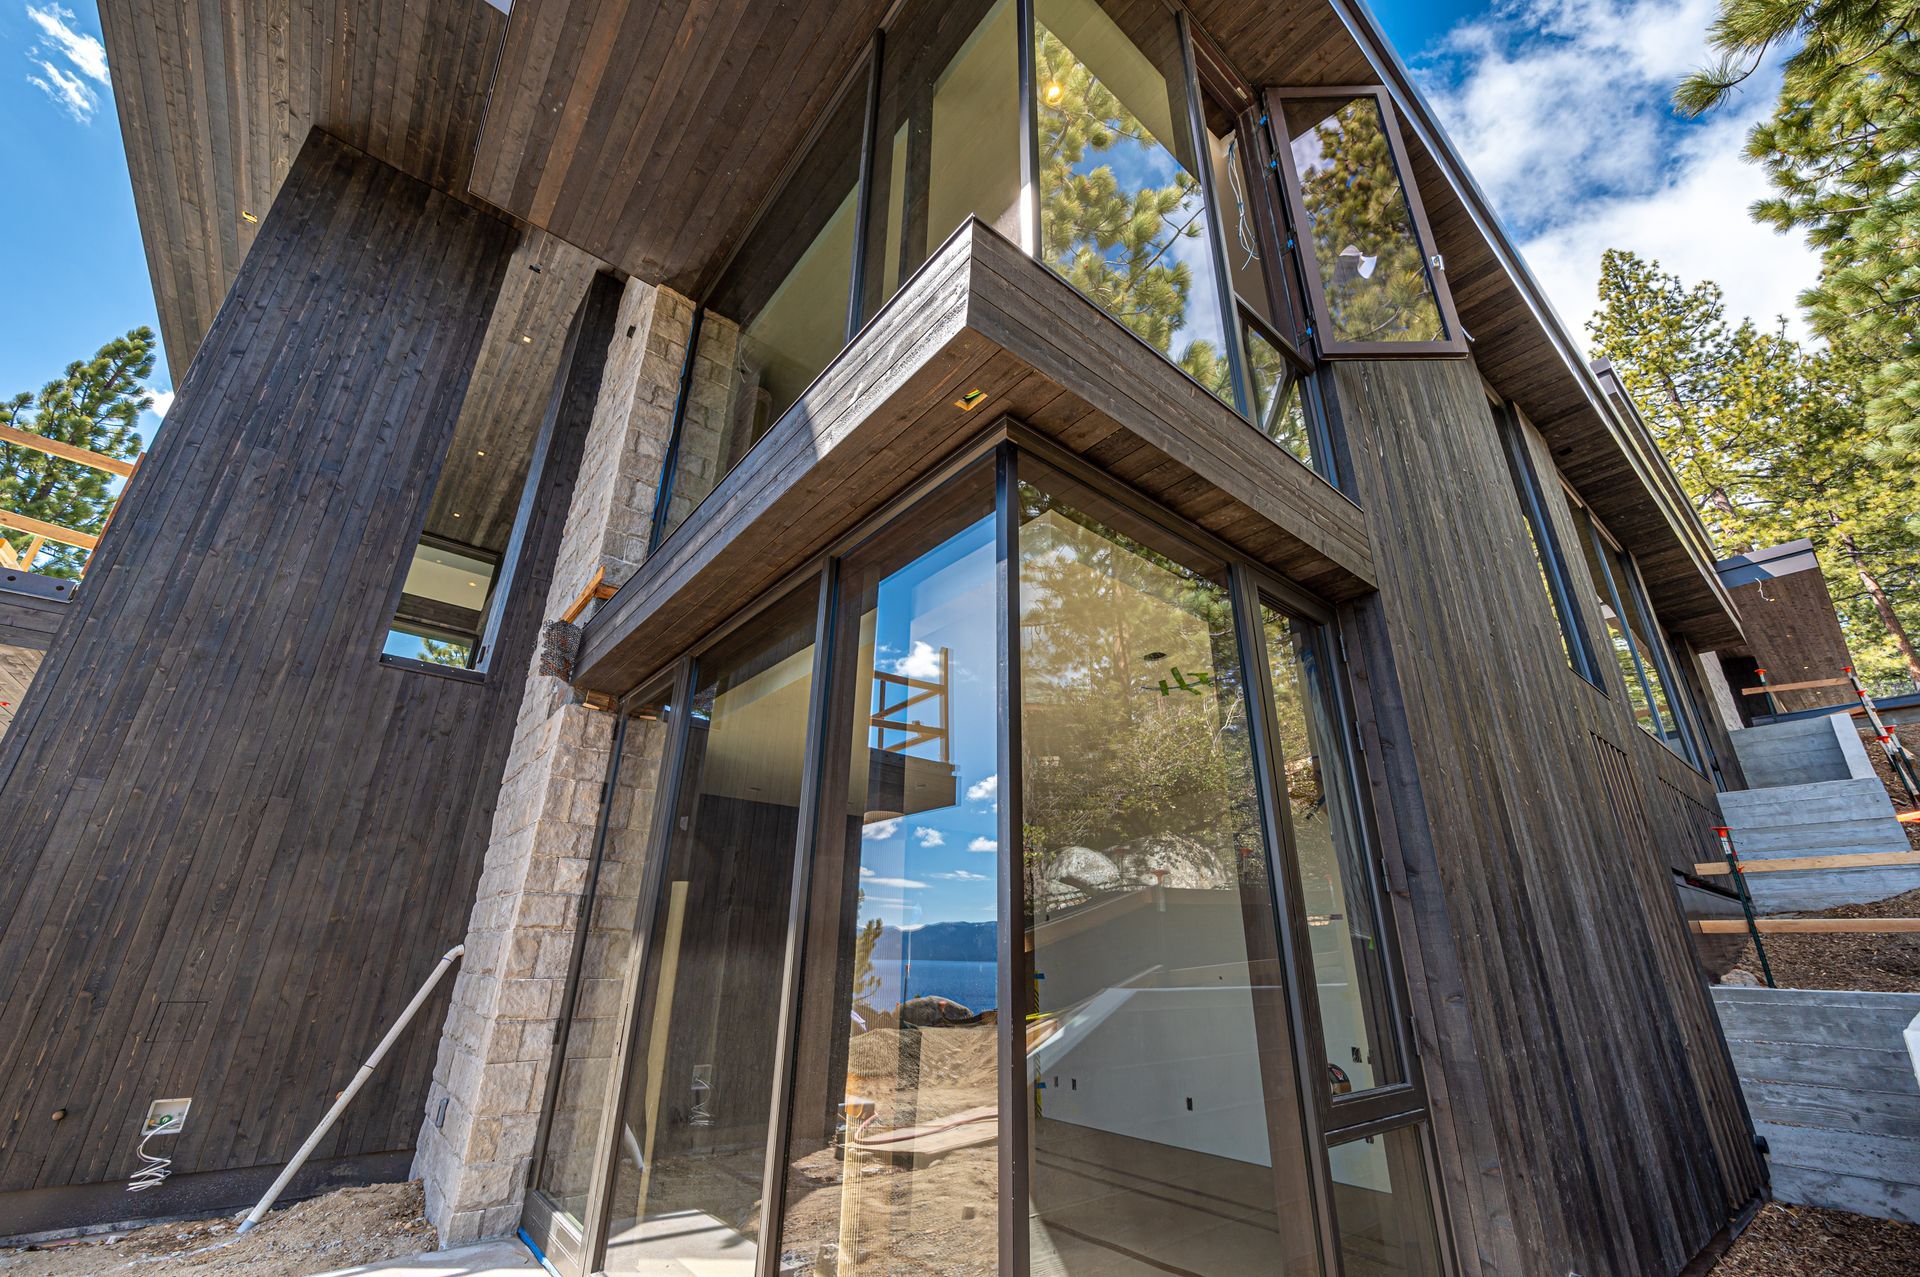
Windows and doors interrupt every siding layout. On a custom home, a course may need to meet a window head, continue across an inside corner and align with a nearby opening on the next elevation. Those relationships deserve attention before the first run is installed.
Review Details With the Elevations
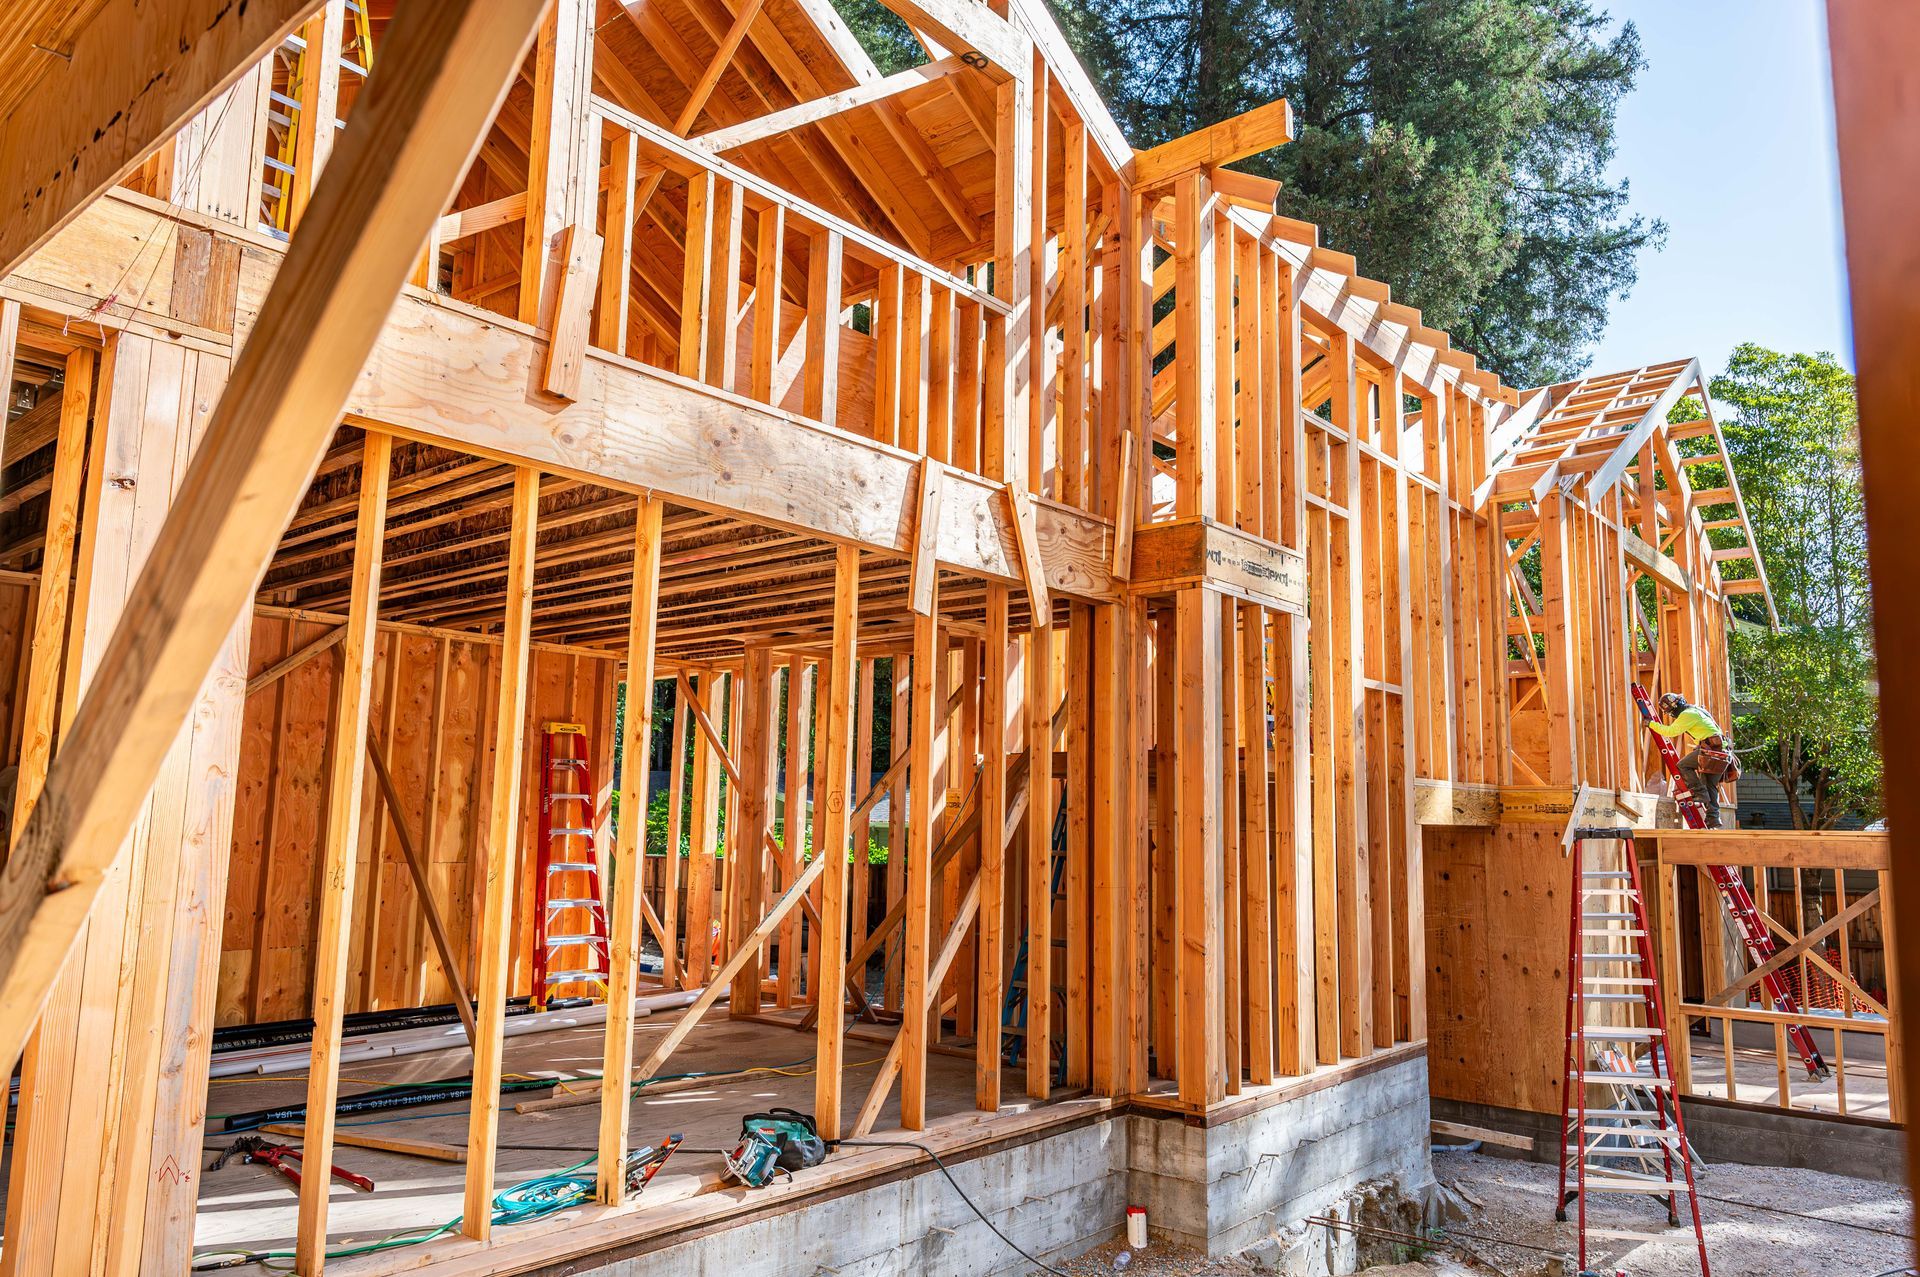
Start with the approved elevation and opening details. Check the planned trim widths, siding exposure, panel joints and corner conditions together. Identify where the drawings call for alignment and where a transition needs the architect’s review. Compare the intended finish with the actual framed and installed openings.
A full elevation sketch or a marked-up set can reveal repeated cuts or uneven margins that are easy to miss when reviewing one window detail at a time.
Coordinate the Work Behind the Visible Trim
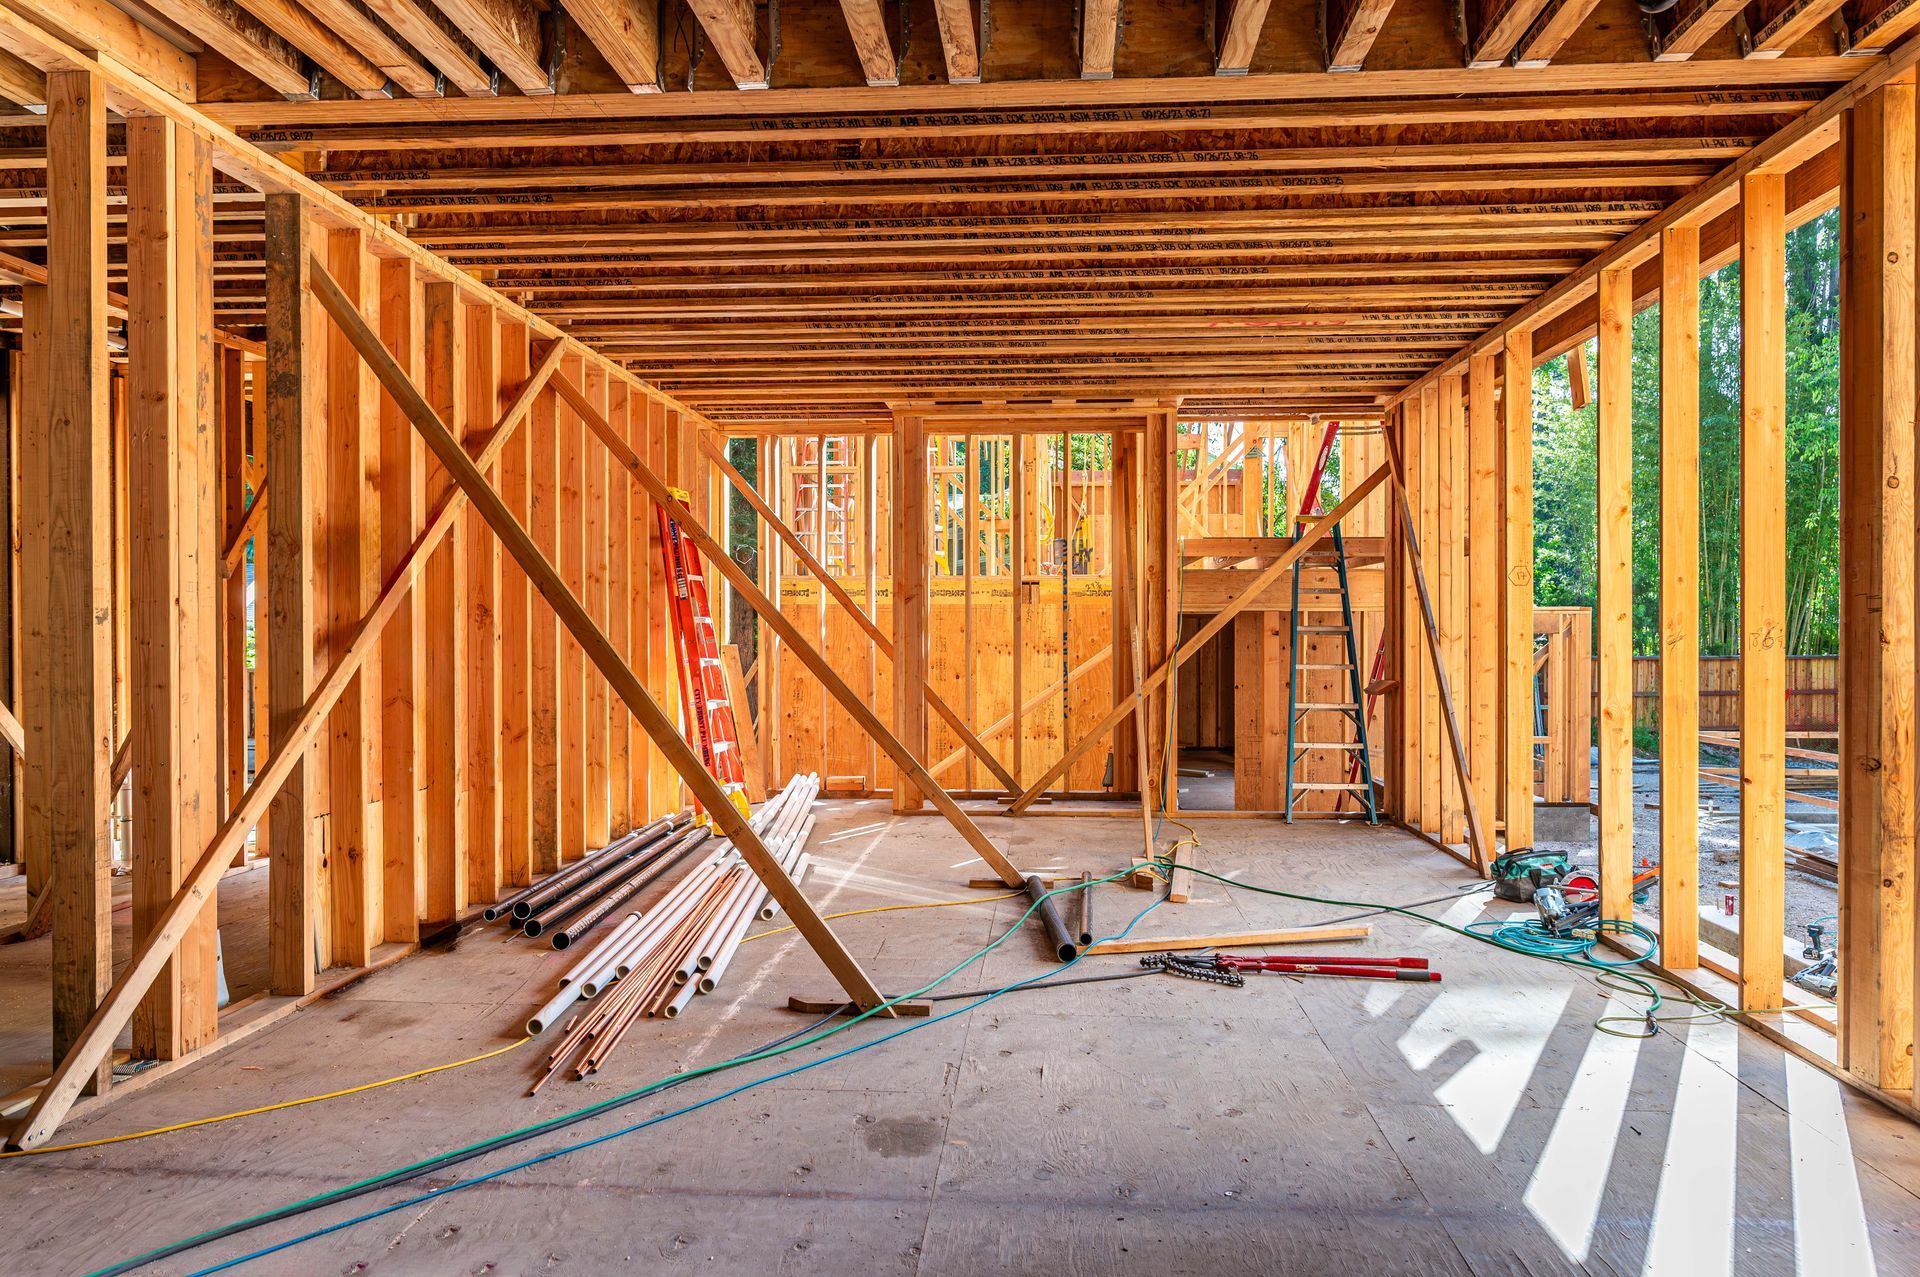
Ask the builder to confirm the approved wall assembly, window installation details and how the drainage plane connects across each opening. Verify which trade handles the relevant flashing and transitions under the project scope. Use the project details and manufacturer instructions to settle the sequence before the siding or trim covers those areas.
If the field condition differs from the detail, pause at that opening and document it. Solving the same question once for a repeated condition is easier than discovering several different interpretations later.
Mock Up a Representative Opening
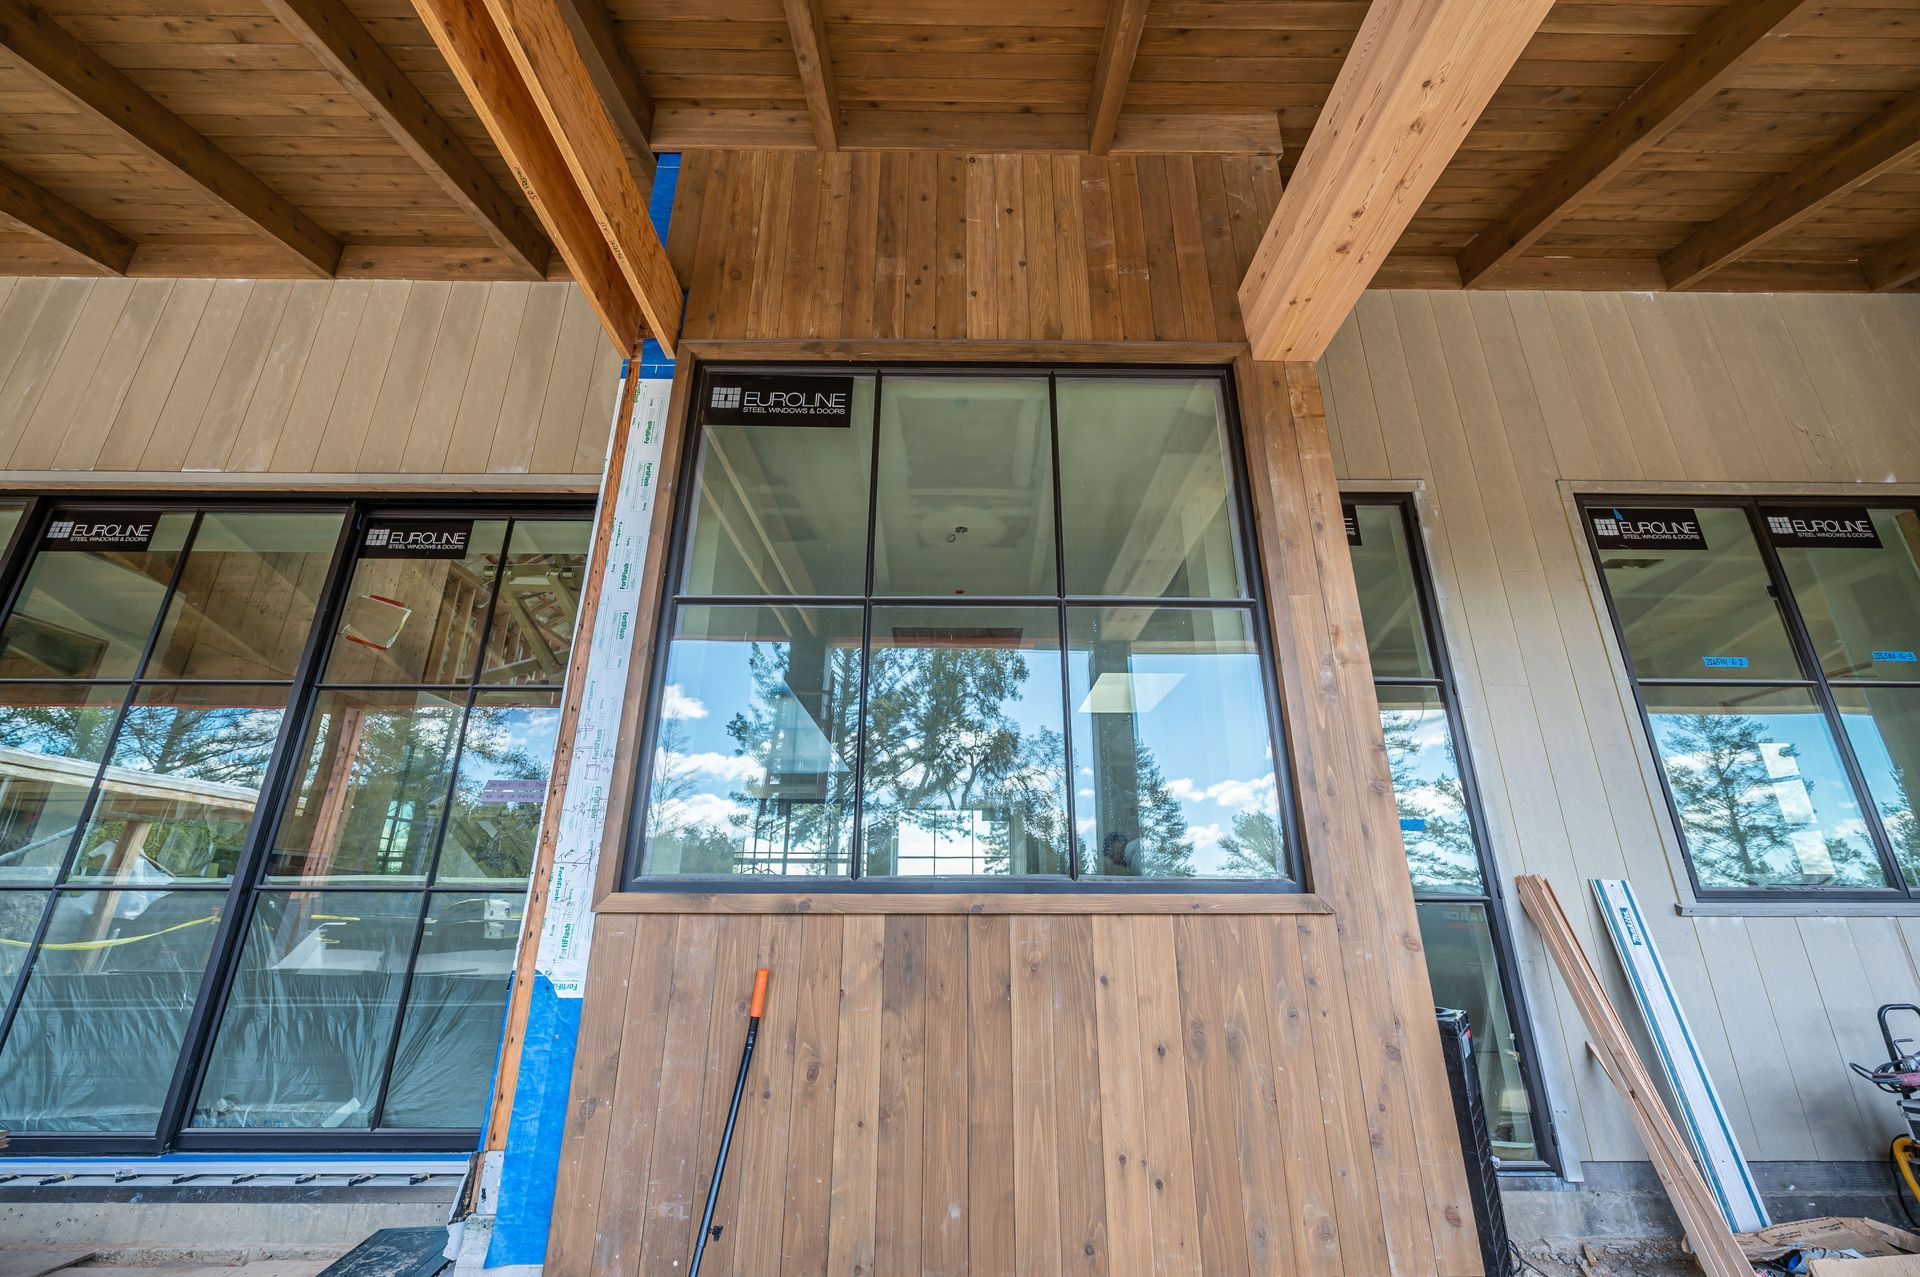
Choose a window or door that includes the materials and profiles used elsewhere on the house. Review a sample with the builder and architect for the intended reveal, joint alignment and transition at the head, sill and jamb. Compare it in the actual light and at the distance from which the elevation will normally be seen.
Record the accepted appearance and the underlying approved detail separately. A visual sign-off does not replace the wall assembly requirements.
Plan the Handoff to Exterior Finish Work
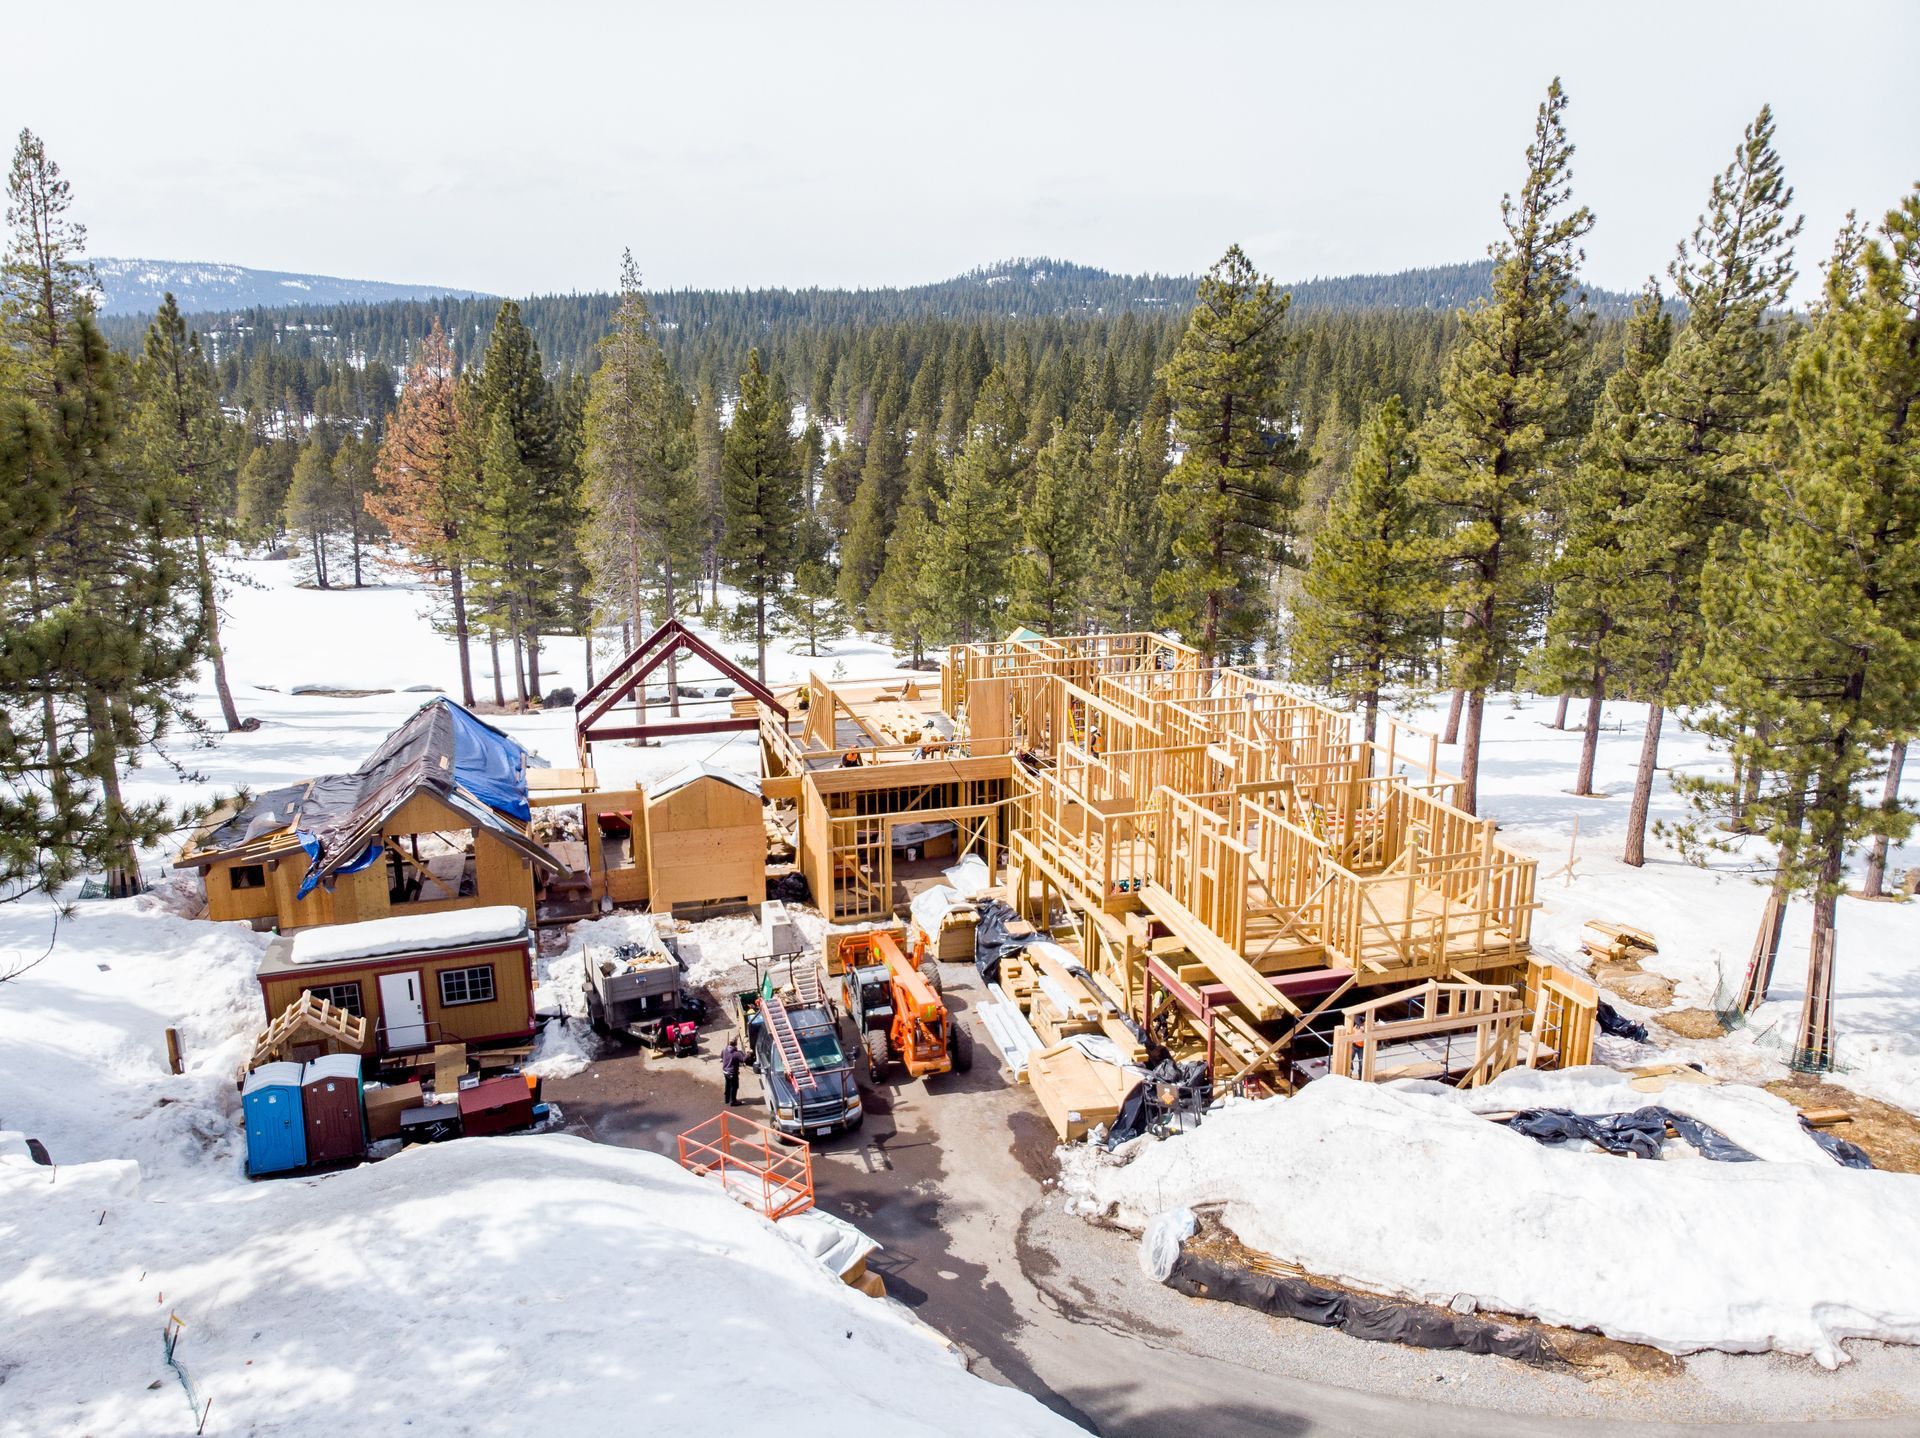
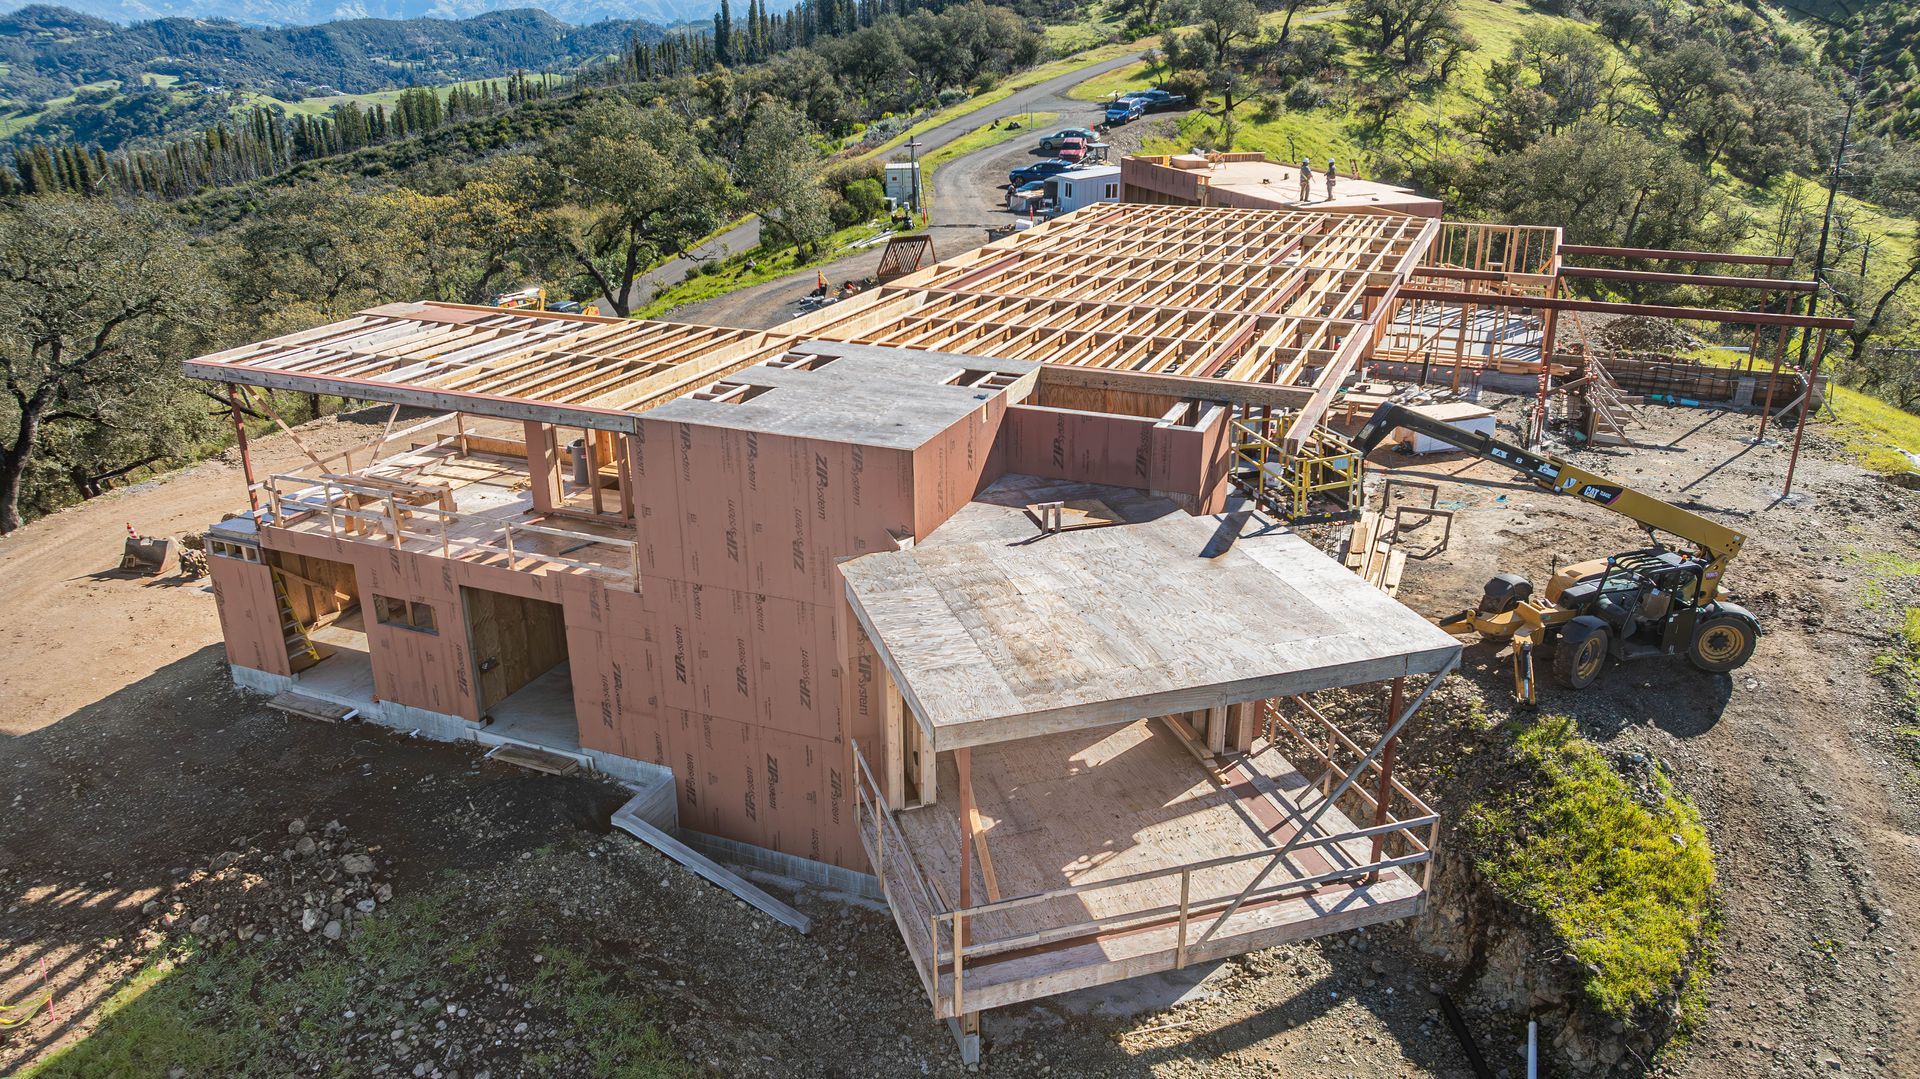
Before installation, confirm the siding layout, material availability, completed opening work and who will approve a changed condition. On an active project like the Crystal Exterior Siding Project, understanding the work already in place is especially important.
S. R. Freeman provides exterior siding and trim
for custom residential scopes. Discuss your project
with your elevations and opening details.
Frequently Asked Questions
1. Why check the siding layout before setting trim?
Course lines and panel joints affect how trim meets the rest of the elevation. Checking the full layout helps the builder spot awkward transitions early.
2. Who decides how flashing ties into the wall assembly?
Follow the approved project details and manufacturer instructions. The builder coordinates the responsible trades and routes unresolved conditions to the design team.
3. What makes a useful mockup?
Choose an opening that represents the actual siding, trim profiles and transitions the crew will repeat.
4. Can siding layout be finalized from a rendering alone?
A rendering shows the intended appearance. Use the construction details and field dimensions to confirm how that appearance can be built.